Setting up a shopping campaign in Google Ads can significantly boost your product visibility and drive sales. This guide provides a comprehensive, step-by-step approach to creating and optimising your shopping campaigns, ensuring you reach the right customers at the right time. Let’s dive into the process of how to setup a shopping campaign effectively.
Understanding Shopping Campaigns

Shopping campaigns showcase your products directly to potential customers on Google Search and the Google Shopping tab. Unlike traditional text ads, shopping ads feature an image of the product, its price, and the store name, providing users with rich information before they even click. This makes them highly effective for driving qualified traffic to your website. If you’re looking for expert assistance, Cascade Digital offers Google Ads management services in Australia.
Benefits of Using Shopping Campaigns
– **Increased Visibility:** Shopping campaigns give your products prominent placement on Google’s search results pages.
– **Higher Quality Leads:** By displaying product information upfront, you attract customers who are more likely to make a purchase.
– **Retail-Centric Reporting:** You gain access to detailed performance metrics, allowing you to track the success of your products over time.
Prerequisites for Setting Up a Shopping Campaign
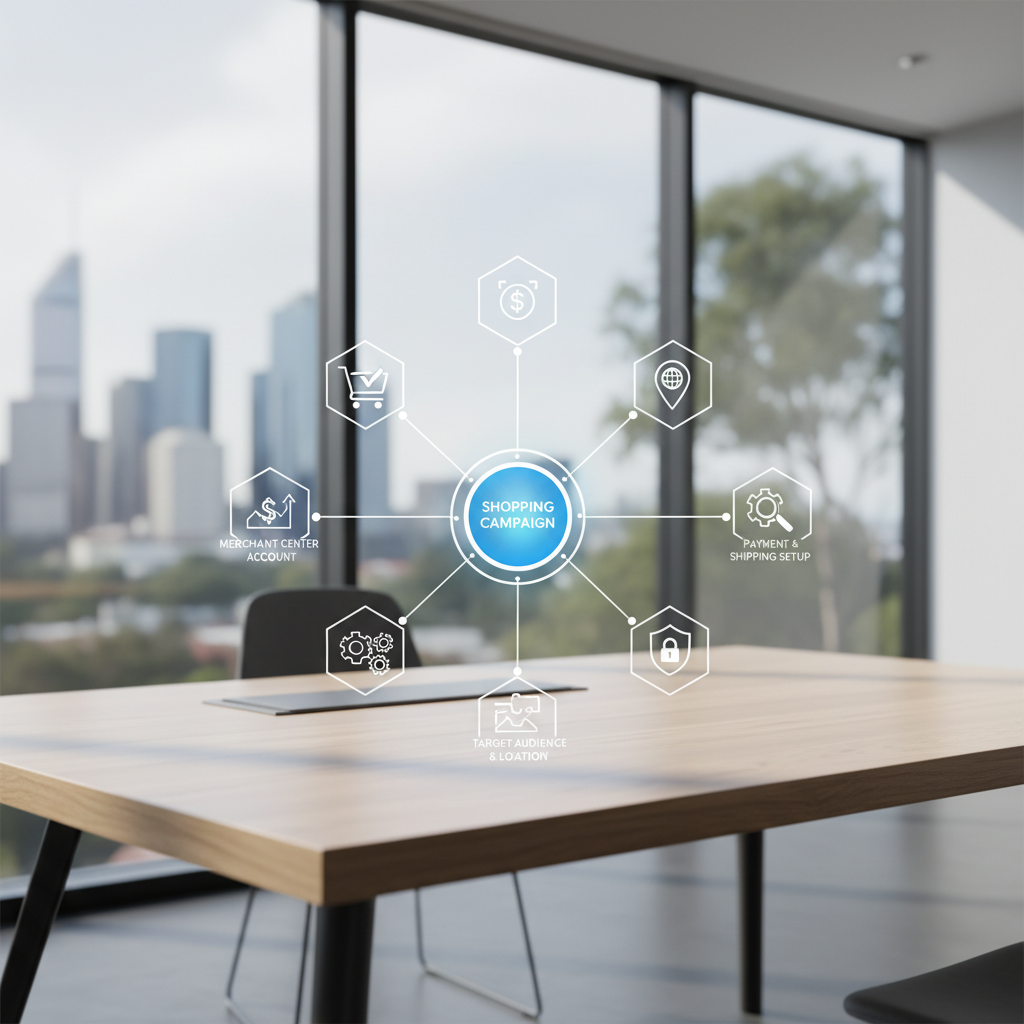
Before you begin, ensure you have the following in place:
1. **Google Ads Account:** If you don’t already have one, you’ll need to sign up for Google Ads.
2. **Google Merchant Center Account:** This is where you upload and manage your product data. Make sure your account is set up correctly and your products are approved.
3. **Linked Accounts:** Your Google Ads and Merchant Center accounts must be linked. This allows data to flow seamlessly between the two platforms.
Step-by-Step Guide to Setting Up Your Shopping Campaign

Follow these steps to create your first shopping campaign:
1. **Create a New Campaign:**
– In your Google Ads account, click the plus button and select “New campaign”.
2. **Choose a Campaign Objective:**
– Select an objective such as “Sales”, “Leads”, or “Website traffic”. You can also choose “Create a campaign without a goal’s guidance”.
3. **Select Campaign Type:**
– Choose “Shopping” as your campaign type.
4. **Link Your Merchant Center Account:**
– Select the Merchant Center account that contains the products you want to advertise. If you don’t see any accounts listed, you’ll need to link your Merchant Center and Google Ads account first.
5. **(Optional) Select Data Sources:**
– Choose the data sources (feed labels) that contain the products you want to advertise. This allows you to target specific product categories or promotions.
6. **Name Your Campaign:**
– Enter a descriptive name for your campaign. This will help you easily identify it later.
7. **Set Budget and Bidding Strategy:**
– Determine your daily budget and choose a bidding strategy that aligns with your goals. Options include “Maximise clicks”, “Target ROAS”, or “Manual CPC”.
Configuring Your Campaign Settings
Once you’ve created the basic campaign structure, it’s time to configure the settings:
Bidding Strategies
Choosing the right bidding strategy is crucial for campaign success. Consider these options:
– **Maximise Clicks:** Aims to get you the most clicks within your budget.
– **Target ROAS (Return on Ad Spend):** Aims to achieve a specific return on your ad spend.
– **Manual CPC (Cost Per Click):** Gives you full control over your bids.
Targeting and Audiences
While shopping campaigns don’t use keywords in the same way as search campaigns, you can still refine your targeting using audience segments. Consider using remarketing lists to target users who have previously visited your website. Understanding what are keywords in Google Ads can also help you refine your overall advertising strategy.
Ad Extensions
Enhance your shopping ads with extensions like sitelinks, callouts, and promotions. These extensions provide additional information and can improve your ad’s click-through rate.
Creating Product Groups
Product groups allow you to organise your inventory and bid more effectively. You can create product groups based on categories, product types, or custom labels.
Structuring Your Product Groups
– **Category:** Group products by their Google Product Category.
– **Product Type:** Group products by your own product types.
– **Item ID:** Target individual products.
– **Custom Labels:** Create custom labels in your product feed to group products based on specific attributes (e.g., sale items, bestsellers).
Optimising Your Shopping Campaign
Once your campaign is up and running, continuous optimisation is key to achieving the best results. Consider seeking help from a SEO consultant in Australia to improve your product feed.
Monitoring Performance
Regularly monitor your campaign’s performance metrics, including:
– **Impressions:** How often your ads are shown.
– **Clicks:** How often users click on your ads.
– **Conversion Rate:** The percentage of clicks that result in a conversion (e.g., a purchase).
– **Cost Per Conversion:** The average cost of each conversion.
A/B Testing
Experiment with different ad copy, bidding strategies, and product groupings to identify what works best for your target audience. According to Google, you can create a Shopping campaign manually through the Google Ads UI or automatically using the Google Ads API.
Refining Your Product Feed
Ensure your product data is accurate and up-to-date. Use high-quality images and compelling descriptions to attract clicks. Consider using custom labels to highlight promotions or seasonal items.
Setting up a shopping campaign involves several steps, from linking your Merchant Center account to optimising your product feed. By following this guide and continuously monitoring your campaign’s performance, you can effectively reach your target audience and drive sales. Remember to regularly review and adjust your settings to maximise your return on investment.